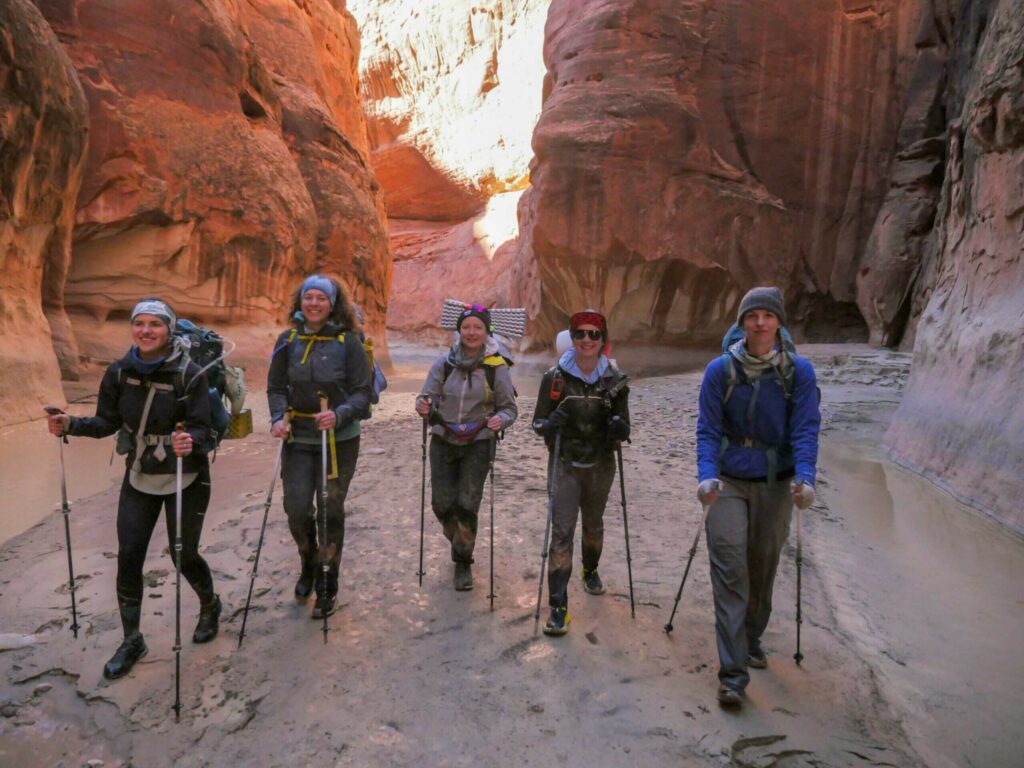
In 2022, The Cairn Project hosted a first-ever Ambassador Alumni Expedition – a traverse of Utah’s Buckskin Gulch and the Paria River Canyon, to raise awareness of and funds for programs that get young women and girls outside. The trip was made possible through a partnership with AWExpeditions and operated by Dreamland Safari Tours and was supported by our industry partners including LEKI USA, LOWA, Goodr Sunglasses, Sea to Summit, Nite Ize.
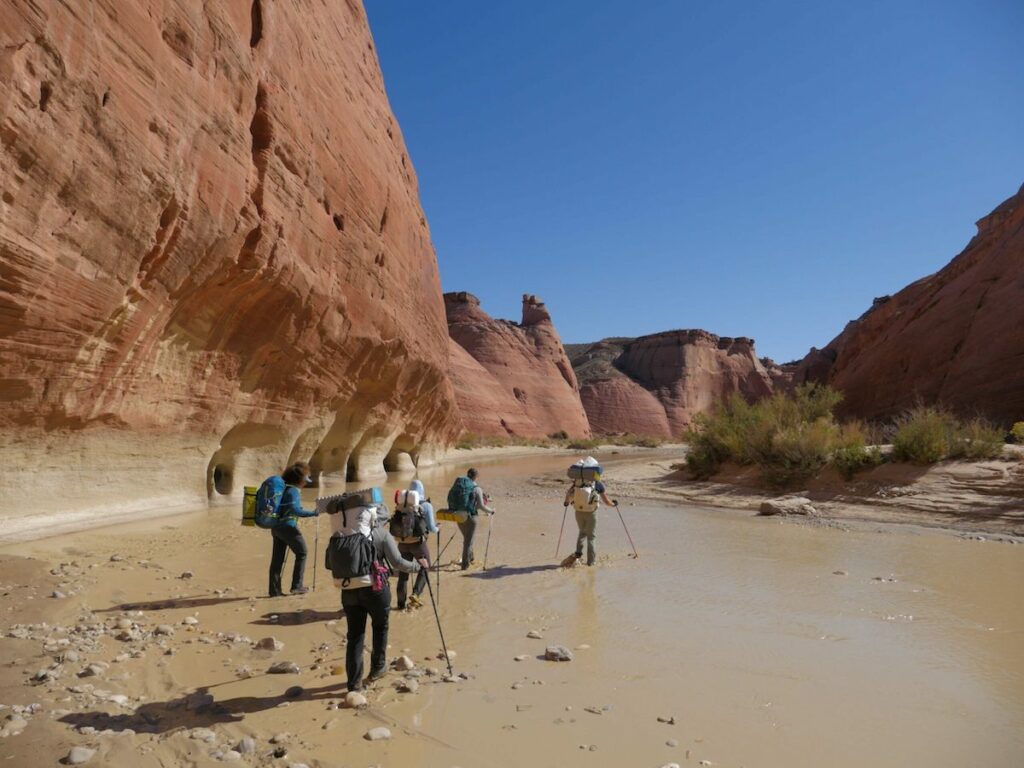
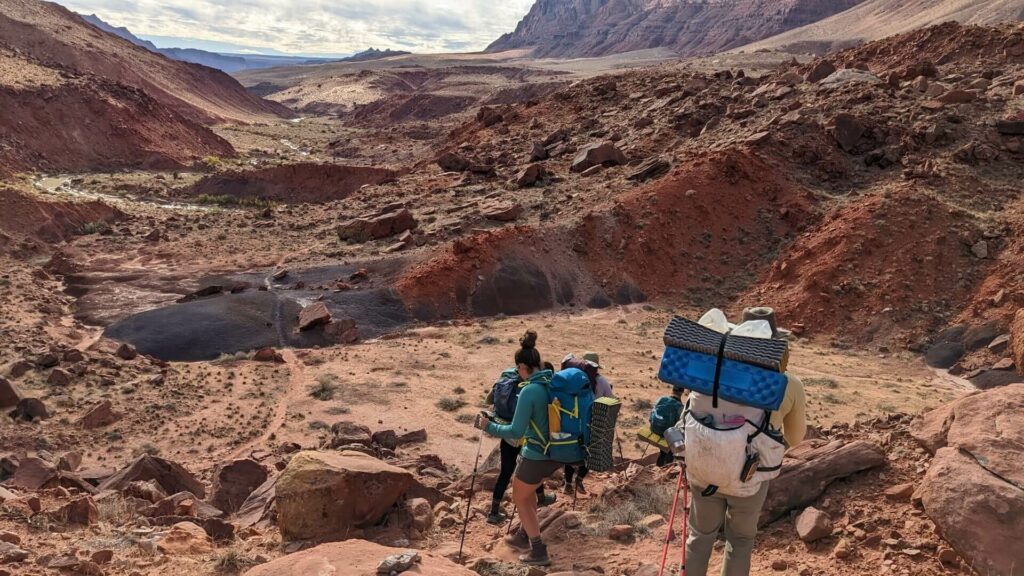
Have you heard of the Paria Canyon-Vermilion Cliffs Wilderness Area? It’s a small gem tucked between the Southern Utah and Northern Arizona border. Within it lies the Paria (pah-ree-ah /pəˈriːə/, rhymes with “Maria”) Canyon, a mystical winding canyon that follows the Paria River from White House Trailhead to Lee’s Ferry. It’s approximately 38 miles of enormous sandstone walls, river crossings, and solitude. Highly challenging, highly recommended.
Quick Stats
Total Mileage: ~38 miles, plus more for side trips
Trail Shape: Point to point
Trip Length: 4 to 5 days
Trailhead: Wire Pass Trailhead (36.183833, -112.376747)
Closest town to trailhead: Kanab, Utah
Ending point: Lee’s Ferry (36.868720, -111.596001)
Closest town to trail end: Page, Arizona
Dogs Allowed: Yes
Permit Required: Yes
Link to AllTrails GPX and stats.
Getting There
The closest town to the Wire Pass Trailhead is Kanab, Utah, and the closest large airport is in Las Vegas, Nevada (~3.5 hours from Kanab). Plan to arrive the day before to give yourself time to grab some extra snacks and get situated. Kanab is a “magically unspoiled” town, as their motto boasts, but it is relatively expensive.
Both the starting and ending trailhead have no public transportation. This is a point to point hike, so you will need to arrange transportation between the two. There are multiple private shuttle operators that can pick you up at Lee’s Ferry, and even drop you off at Wire Pass to begin. They range from $200 to $300 dollars and are a great alternative to shuttling rental or personal cars. You can also use a guide company for the whole trip and they will take care of transportation.
Trip Length
I would recommend taking 4 to 5 days to traverse the canyon. You will be carrying all your food on your back for the duration of the trip, so a four day trip means less weight in food, but higher mileage and a five day trip means more relaxed hiking days with a heavier pack. I hiked with a group of The Cairn Project alum and AWExpeditions in collaboration with Dreamland Safari Tours (who held the permits) and we did the trip in four days. Full transparency, I hadn’t trained extensively (at all) and felt the long milage days.
Safety
Hiking in a slot canyon is inherently dangerous. Please take note of weather before and during your trip before leaving. Flash floods can occur and leave you stranded, or injured. Some options to consider before hiking:
♦ Check in with the local BLM office to inquire about weather patterns, temperature swings, and any other safety concerns (I heard there’ve been bear sightings in the past!)
♦ Consider bringing a GPS device. This is helpful threefold: Check weather throughout the trip to make sure nothing has changed; Send out small text messages to family and friends so they know you’re safe; Keep track of your route. We suggest a Garmin inReach Mini. It can be pricey, and you have to pay a monthly fee (which you can stop and start as needed throughout the year), but it is well worth the peace of mind. Try reaching out to local buy/sell/trade facebook groups or used gear shops to find one second hand.
♦ Keep your wits about you! This is an incredible adventure, but make sure to take care of the basics before you continue each day/hour. Check in on your feet for blisters or hot spots, make sure you are regulating your temperature, and check in with your group often for moral and personal comfort.
Permits
Permits can be obtained at Recreation.gov. From their site: “You must apply for, obtain, and purchase a permit in advance and pick up your permit in person within 10 days of the start date of your trip”.
♦ Reservations can be made starting noon mountain time on the 1st of each month for a permit up to three months in advance.
♦ You can’t purchase a permit the same day, or the day before.
♦ There is a limit of 20 people per day allowed to camp in the canyon, with no more than 10 people per group.
♦ Permits are a base $9 dollar recreation fee, and then a $5/day for each person in the canyon.

Conditions
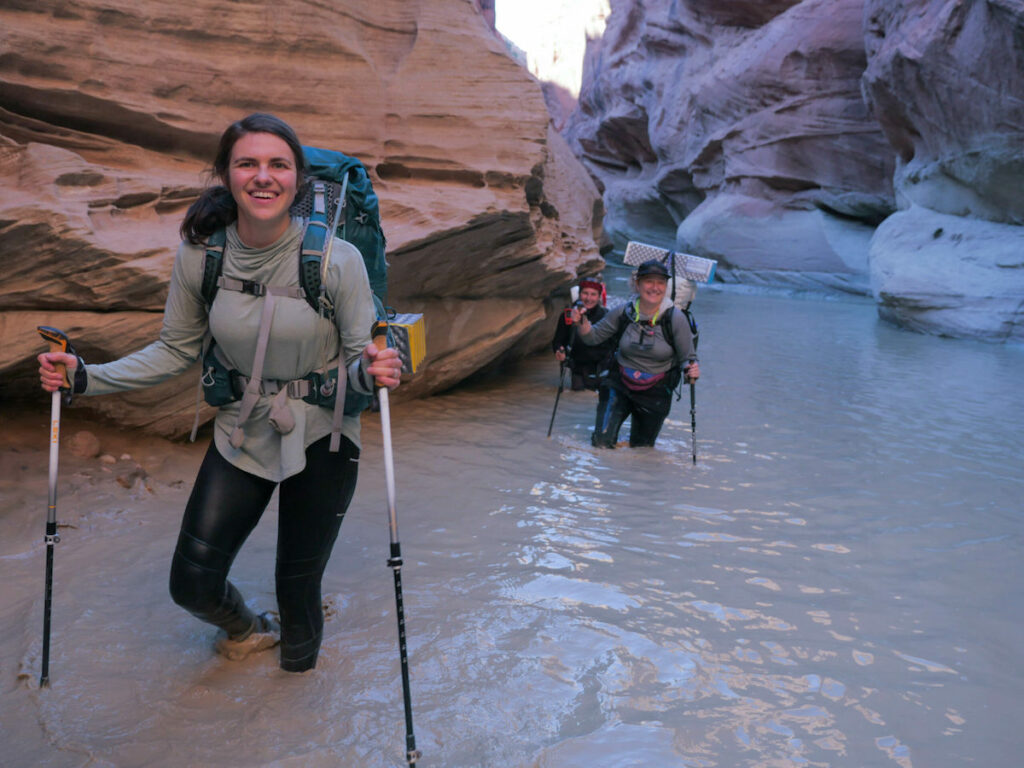
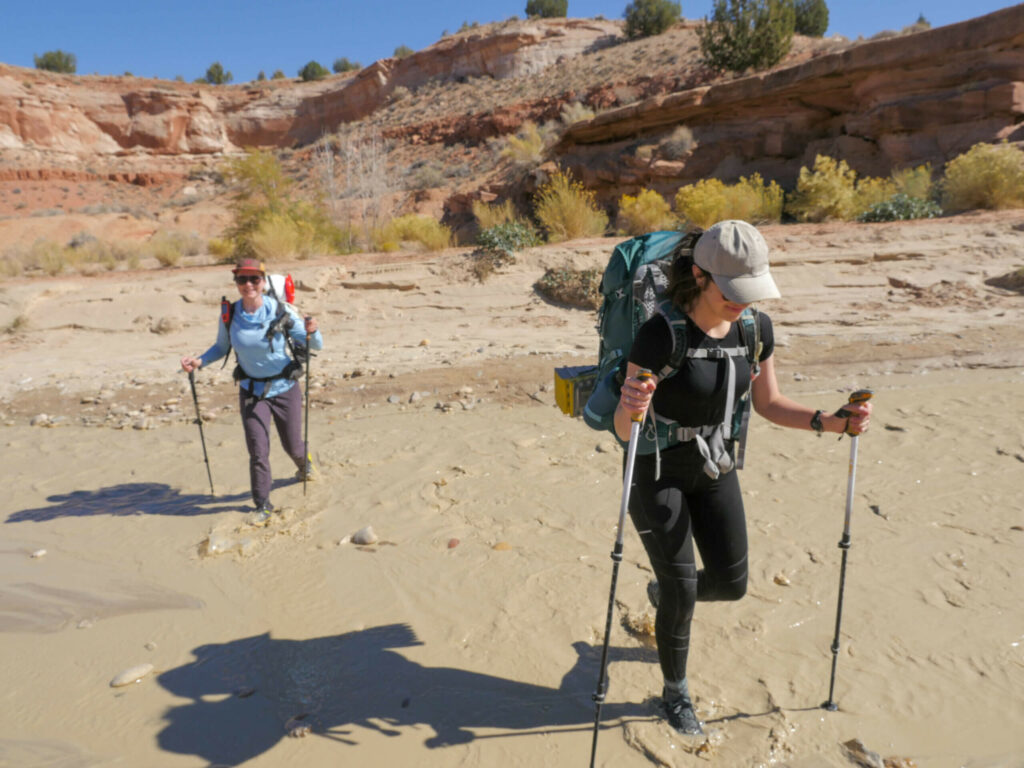
This is an exceptional hike because you are walking through water more often than not. Because the canyon was cut by the Paria River, there are many sections that you are forced to wade through the water.
When to Go
Spring time is the high season in the desert and that is no different for the canyon. The weather is a little more stable than summer, the temperatures are mild, and the flowers are blooming! Fall is also a great choice, though pushing into late fall can bring freezing temperatures (and frozen shoes from sitting out overnight). It’s a little easier to get a permit in the fall than in the spring so there are pros and cons to each. I would avoid summer, the temperatures are extremely hot and unbearable for much of the day, making it uncomfortable and dangerous to hike.
I’m walking through water the whole time?
Yes. Much of the hike is directly through the Paria River. But fear not! It’s energizing and beautiful at the same time. Because of these unique conditions, please refer to the packing list for specifics.
Packing List
This list below is super specific to the conditions of the Paria Canyon hike. You should bring all the gear you normally would on a backpacking trip. Below are the extras you need to include to feel comfortable while traversing the canyon.
- Lightweight, non-gortex, non-leather hiking shoes – When I planned for 50 miles I figured my trusty hiking boots would be coming along. Not for this hike! I ended up wearing low top running shoes. You want a pair that isn’t waterproof or leather, but still protects your toes. Our suggestion: LOWA’s Innox Pro Mid (currently out of stock but should return next season)
- Dry Bags – Dry bags saved me on this trip. I had my sleeping bag and clothing stuffed into them. I also lined my backpack with a trashbag knowing we would be dipping into waist deep water often. But when that got a hole in it, the dry bags came to the rescue. Pack anything essential in a dry bag. Our suggestion: Sea to Summit Lightweight Dry Sack
- Hiking Poles – Multiple times throughout this trip the words were yelled, “LEKI saved my life!” We were up and down riverbeds, sliding down scree, and tromping through flowing water. Poles are essential for this hike. Our suggestion: LEKI Cressida
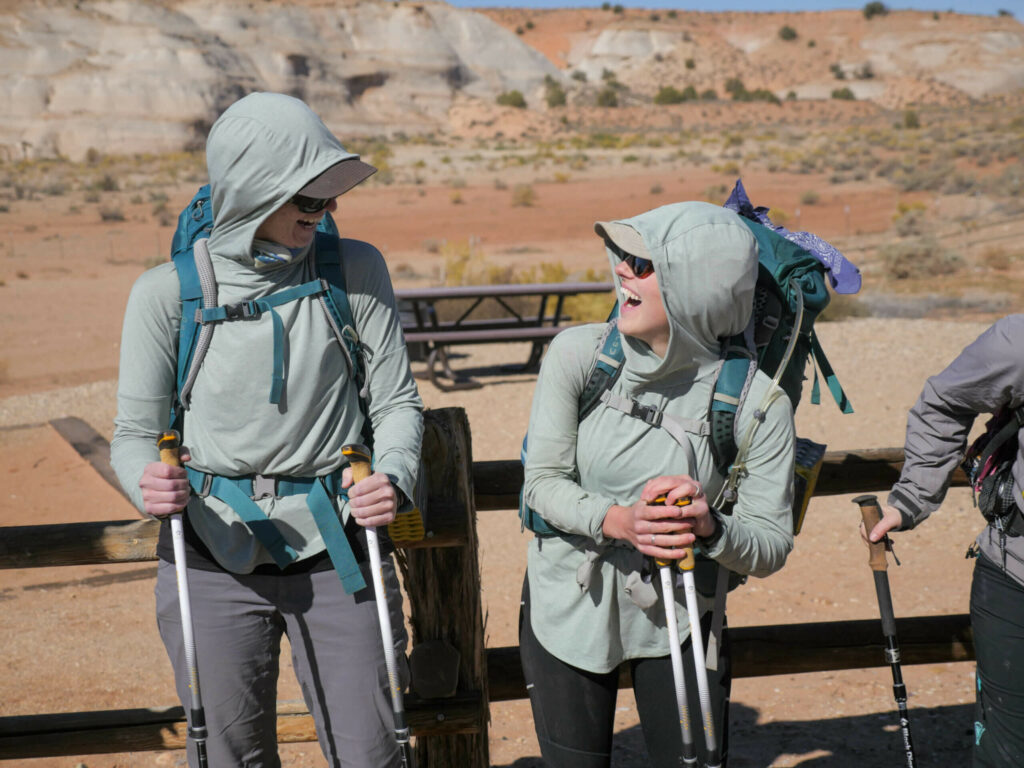
- Sleeping Clothes and Hiking Clothes – This list item comes down to personal preference, but make sure to bring something warm to wear at night. You’ll want a sunshirt for daytime hiking and a light jacket (depending on the time of year) for wearing around camp. MULTIPLE SOCKS. They will be wet each day from walking through water. It would be wise to put on a new pair each evening, and then wear them through to the next evening and change them then.
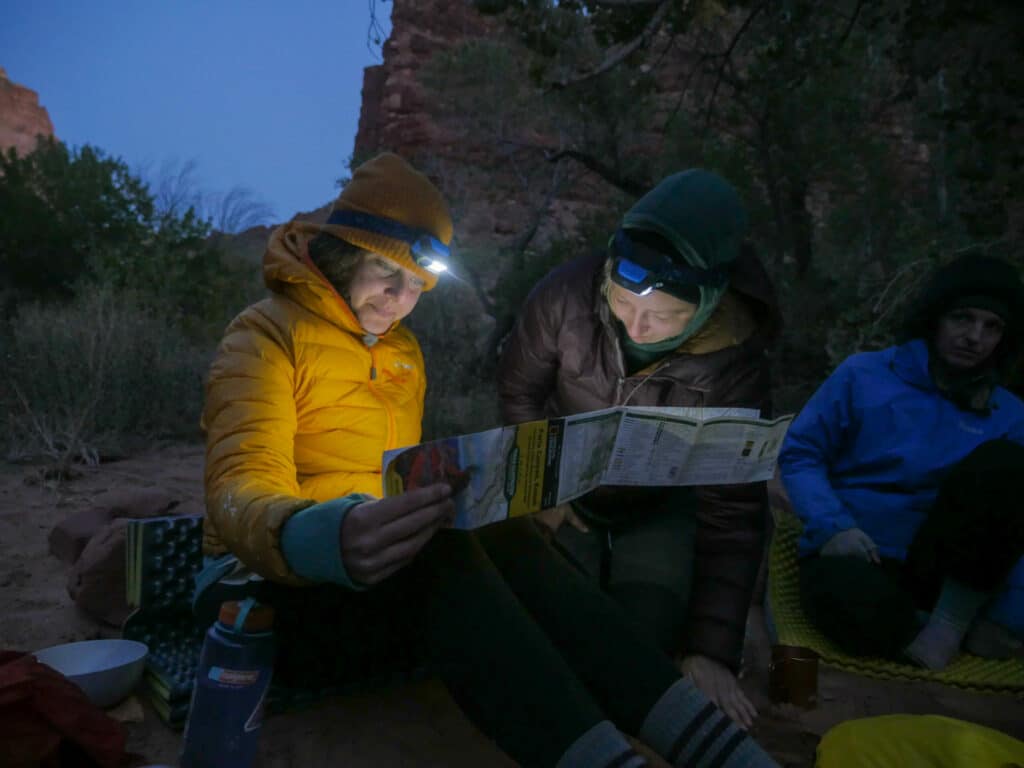
- Head Lamp – Depending on the time of year, especially if you go in spring or fall, the days will be shorter and the sun will set quickly and rise later behind the canyon walls. A headlamp will be your best friend for getting around camp. Our suggestion: Nite Ize Radiant 300 Rechargeable Headlamp
- Water Filter + Carrying Capacity– There are multiple springs along the Paria hike, but some are not easy to find. Clean water is not something to skimp on. I would recommend a personal filter, as well as a larger capacity water filter, to fill a backpack reservoir. Chat with a ranger beforehand and take a look at the National Geographic Map of the area before heading out. The springs are sometimes easier to see if the water is muddy and you can see the clear water filtering into the opaque water. Our suggestions: Personal filter: Grayl Geopress, Larger capacity filter: Lifestraw Flex with Gravity Bag, Backpack reservoir: Crux 3L Reservoir.
- First Aid Kit – This should be included in all backpacking lists! Our suggestion: Adventure Medical Kit
- Backpacking Set Up: Tent, Sleeping Bag, Sleeping Pad, Pillow – This list item comes with a lot of personal preference! You can say no to all of these items in exchange for an insulated sleeping quilt and rest your eyes under the stars for the duration of your adventure. Or, you can come with a tent+fly, beefy sleeping pad, full pillow, and sleeping bag+liner. It’s up to you! Just be sure to have a makeshift shelter and insulation at the very least.
- GPS Unit – Mentioned above in the Safety section. As a reminder, our suggestion: Garmin inReach Mini
Final Thoughts
The Paria Canyon is a beautiful hike and adventure. Expect a lot of Type 1 and even a bit of Type 2 fun as you trudge through waist deep water and marvel at the beautiful canyon walls. If you’d like more information, please reach out to us and we can answer any questions.